Mastering Tandoori Chicken The Easy Way

Tandoori Chicken

Imagine the warm aroma of earthy spices wafting through your kitchen as vibrant, golden-orange chicken grills to perfection. Tandoori chicken, with its smoky flavors and succulent texture, has enchanted taste buds for generations. This iconic Indian dish, served at world-class restaurants and family dinners alike, is much easier to master at home than you might think.

Yet, many home cooks struggle to replicate the juicy tenderness and signature char associated with authentic tandoori chicken. That’s where this guide comes in! Today, you’ll learn everything from crafting the perfect marinade to cooking techniques (oven or no oven) and expert tips to elevate your dish. By the end of this blog, you’ll be ready to impress your friends and family with restaurant-quality tandoori chicken.

full tandoori chicken

Understanding the Essence of Tandoori Chicken

A Brief History

Tandoori chicken originated in the Punjab region before the partition of India and Pakistan. Popularized in Delhi by Kundan Lal Gujral at his famous Moti Mahal restaurant, this dish marked the innovation of pairing marinated chicken with the tandoor, a traditional clay oven. Over time, the recipe gained a global following for its irresistible flavors and unique cooking process.

Key Features

  • Smoky Flavor: The hallmark of authentic tandoori chicken is its smoky essence, traditionally achieved in a tandoor oven.
  • Vibrant Appearance: Its distinctive orange hue comes from spices like turmeric, paprika, or even Kashmiri chili powder.
  • Tender Texture: Thanks to a yogurt-based marinade, the chicken remains juicy and flavorful on the inside, with a slightly charred exterior.

Tandoori chicken isn’t just food; it’s a sensory experience, steeped in tradition and culture.

The Magic of Tandoori Chicken Marinade

The secret to mouthwatering tandoori chicken lies in its marinade. This blend of ingredients transforms simple chicken into a masterpiece bursting with flavor.

Essential Marinade Components

  • Yogurt: The foundation of any tandoori marinade, yogurt tenderizes the chicken and keeps it moist during cooking.
  • Spices: Garam masala, red chili powder, turmeric, and cumin are the stars, each contributing layers of earthy heat and color.
  • Aromatic Additions: Ginger, garlic, and lemon juice add brightness and depth.
  • Oil: Helps retain moisture and enhances the flavors while cooking.

Tips for the Best Marinade

  • Use full-fat yogurt for creamier consistency.
  • Adjust chili powder to your preferred spice level.
  • Marinate the chicken for at least 4 hours, but overnight yields the best results.
  • For beginners, start with the classic yogurt-based version. Feeling adventurous? Try a spicy green marinade made with cilantro, mint, and green chilies for a refreshing twist.

Pro Tip: For the perfect tandoori chicken marinade, yogurt works wonders in tenderizing the meat while balancing spices for a rich flavor profile.

Selecting Your Chicken Cuts

Tandoori chicken works well with a variety of cuts, each offering a unique texture and taste.

  • Drumsticks and Thighs: Ideal for juicy results, as dark meat retains moisture better.
  • Chicken Breasts: A leaner option but still delicious if cooked carefully to avoid drying out.
  • Wings: Fantastic for appetizers or snacks.
  • Vegetarian/Vegan Options: Paneer or tofu can also soak up the marinade and deliver equally delightful results.

Prep Like a Pro

  • Score the chicken pieces with shallow cuts. This allows the marinade to seep in, ensuring even flavor and tenderness.
  • Pat the chicken dry with a paper towel before marinating to help the spices adhere better.

Cooking Your Tandoori Chicken

Option 1: Making Tandoori Chicken in an Oven

An oven makes it surprisingly easy to replicate the results of a traditional tandoor.

  1. Preheat your oven to 400°F (200°C).
  2. Place the marinated chicken on a baking tray lined with foil to catch drippings.
  3. Bake for 25-30 minutes, flipping halfway through.
  4. For that signature char, broil the chicken for 2-3 minutes at the end while keeping a close eye on it.

Pro Tip: Brush the chicken with additional marinade halfway through baking for extra moisture and flavor.

Option 2: How to Make Tandoori Chicken Without an Oven

No oven? No problem! Here are other methods to get equally delicious results:

  • Grill Pan or BBQ: Preheat the grill pan to medium-high heat and add a bit of oil to prevent sticking. Grill the chicken for about 20 minutes, turning occasionally.
  • Air Fryer: Cook the chicken pieces in an air fryer basket at 375°F (190°C) for 20 minutes. The circulating heat ensures even cooking.
  • Dhungar Method: Want an authentic smoky flavor? Place a heated charcoal piece in a bowl with the cooked chicken, drizzle a few drops of oil on the coal, and immediately cover with a lid. The smoke will infuse the chicken in minutes!

Wondering how to make tandoori chicken without an oven? A grill pan or even an air fryer can deliver equally mouthwatering results.

Pairing Tandoori Chicken With Classic Sides

What’s tandoori chicken without the perfect accompaniments?

  • Mint Chutney: Its refreshing coolness complements the spiced chicken perfectly.
  • Naan Bread or Rice: Starch options to soak up every last drop of flavor.
  • Onion Slices and Lemon Wedges: Elevate the dish with a burst of acidity.
  • Raita: A yogurt dip to balance the heat.
  • Beverage Pairings: Pair with a crisp lager, fruity white wine, or a mango lassi for a complete experience.

Expert Tips for Perfect Tandoori Chicken Every Time

  1. Always preheat your grill, pan, or oven to ensure an even cooking surface.
  2. Use a meat thermometer to confirm the chicken reaches an internal temperature of 165°F (74°C).
  3. For extra richness, experiment with additions like saffron or a drizzle of melted butter before serving.
  4. Start with mild spices and gradually increase as you grow more confident.

Bring Tandoori Magic to Your Home Kitchen

Mastering tandoori chicken is easier than you think. With the right marinade, selected cuts, and flexible cooking methods, you can recreate the magic of an authentic Indian dish in your own kitchen. Whether it’s a weekday dinner for your family or a feast with friends, this recipe will make you the star of the table.

Why not give it a try? Share your tandoori creations with us on facebook by tagging indiankitchenflavour and #TandooriAtHome! Looking for more culinary inspiration? Subscribe to our newsletter for exclusive recipes and pro kitchen tips delivered straight to your inbox.

Crispy & Sweet Shakarpara Recipe

Shakarpara Recipe

Introduction

If you’ve never had Shakarpara before, you’re in for a crunchy, sugary treat that will instantly steal your heart. It’s that snack you pop into your mouth, thinking you’ll stop at one, and then suddenly, half the bowl is gone. Sound familiar?

This recipe will walk you through every step to make the crispiest, sweetest, and most addictive Shakarpara ever. Whether you’re prepping for Diwali, a tea-time snack, or just craving something sweet, this one’s a keeper.


The Origins of Shakarpara

Shakarpara has been around for centuries and is a beloved part of Indian cuisine, especially in states like Maharashtra, Gujarat, and Punjab.

A Traditional Indian Sweet with Deep Roots

It’s believed that Shakarpara has its roots in ancient temple offerings. Its simple ingredients made it accessible to everyone—from kings to commoners.

Regional Variations Across India

In Maharashtra, it’s called Shankarpali, while in Gujarat it’s Shakkarpara. North India even has a savory version, spiced with carom seeds and salt. But our focus here is the sweet, melt-in-your-mouth kind.


Ingredients for Perfect Shakarpara

Let’s talk pantry. You probably have everything you need already!

Basic Pantry Staples

  • 2 cups all-purpose flour
  • 1/2 cup fine semolina (optional but adds crispiness)
  • 1/2 cup sugar
  • 1/4 cup ghee or unsalted butter
  • A pinch of salt
  • Water (as needed)
  • Oil for deep frying

Optional Add-Ins for Extra Flavour

  • Cardamom powder
  • Nutmeg
  • Rosewater (for syrup)

Tools You’ll Need

You don’t need a fancy kitchen setup to make Shakarpara.

Kitchen Essentials

  • A deep frying pan or wok
  • Rolling pin and board
  • Mixing bowl
  • Slotted spoon

Handy Extras for Easier Prep

  • Candy thermometer (for syrup)
  • Pastry cutter (for uniform shapes)

Preparing the Dough

This step is key to getting the right crunch.

Getting the Texture Right

Mix flour, semolina, salt, and sugar. Rub in the ghee until the flour feels like breadcrumbs. Add water gradually and knead into a firm dough.

Tips to Avoid Common Mistakes

Too soft? It’ll absorb oil and turn soggy. Too hard? The Shakarpara will be tough. Aim for a tight but pliable dough.


Rolling and Cutting

This is where things get fun.

Shapes That Work Best

Traditionally, they’re cut into diamond or square shapes, about 1/2 inch in size.

Making It Look Pretty (But Not Too Fancy!)

Use a fluted pastry wheel if you want those cute wavy edges—but trust me, even rough cuts taste just as good.


Frying to Golden Perfection

Frying is an art—don’t rush it.

Oil Temperature Secrets

Heat the oil on medium. Drop a small piece in; it should rise slowly, not sizzle and brown instantly.

How to Get That Crunchy Exterior

Fry in small batches. Stir gently. Let them turn golden—not brown—before taking them out.


Making the Sugar Syrup

This is where the magic happens.

Getting the Right Consistency

You want a one-string consistency. Dip your fingers in the syrup and press them together—when you pull them apart, a single thread should form.

Coating Without Clumping

Toss the fried pieces into warm syrup and stir quickly so each piece is coated. Spread them on a plate to cool.


Cooling and Storage Tips

Patience, grasshopper!

How to Keep Them Crispy for Days

Let them cool completely before storing. If warm, the steam will make them soggy.

Best Containers for Storage

Use an airtight tin or glass jar. Stay away from plastic if possible.


Serving Suggestions

Snacks don’t have to be boring.

Traditional Pairings

Serve with masala chai or milk. They also make great prasad for pujas.

Modern Twists

Crush and sprinkle on vanilla ice cream. Or mix with nuts and dried fruits for a sweet trail mix.


Healthier Shakarpara Options

Because we all want our cake and to eat it too.

Baked Version

Yes, you can bake them at 350°F (180°C) for 15-20 minutes. They won’t puff as much but will still be delish.

Using Jaggery Instead of Sugar

Melt jaggery with a splash of water for the syrup—richer taste, fewer spikes in blood sugar.


Common Mistakes and How to Fix Them

No more Shakarpara fails.

Dough Too Hard or Soft?

Adjust with a spoonful of water or flour, one at a time. Trust your hands—they know.

Soggy Instead of Crispy?

Check oil temperature and make sure they’ve cooled fully before storing.


Kid-Friendly Shakarpara

Snack time = fun time!

Getting the Little Ones Involved

Kids love rolling and cutting dough. Let them help—you might even get new, weird, but lovable shapes.

Flavour Variants They’ll Love

Try cinnamon sugar or even a chocolate drizzle on cooled Shakarpara. Total hit.


Scaling the Recipe for Festivals

Got a crowd coming over? No problem.

Planning Quantities

This recipe makes enough for 4-5 snackers. Double or triple it for parties or gifting.

Storage for Bulk Batches

Layer with parchment paper in tins. Don’t refrigerate—they’ll lose the crunch.


Conclusion

And there you have it—the only Shakarpara recipe you’ll ever need. It’s crunchy, sweet, addictive, and crazy simple to make. Whether you’re reliving childhood memories or creating new ones, this treat has a way of bringing people together—one sugary bite at a time.


FAQs

1. How long does Shakarpara last?
Up to 2 weeks in an airtight container at room temperature.

2. Can I make it gluten-free?
Yes! Use a gluten-free flour mix, but the texture may vary slightly.

3. Is there a way to reduce the sweetness?
Cut down the sugar in the syrup or opt for a thinner coating.

4. Can I freeze Shakarpara?
You can freeze the dough, not the final product—it loses crispiness when thawed.

5. What’s the difference between sweet and savory Shakarpara?
Savory ones skip the syrup and include spices like ajwain and chili powder.

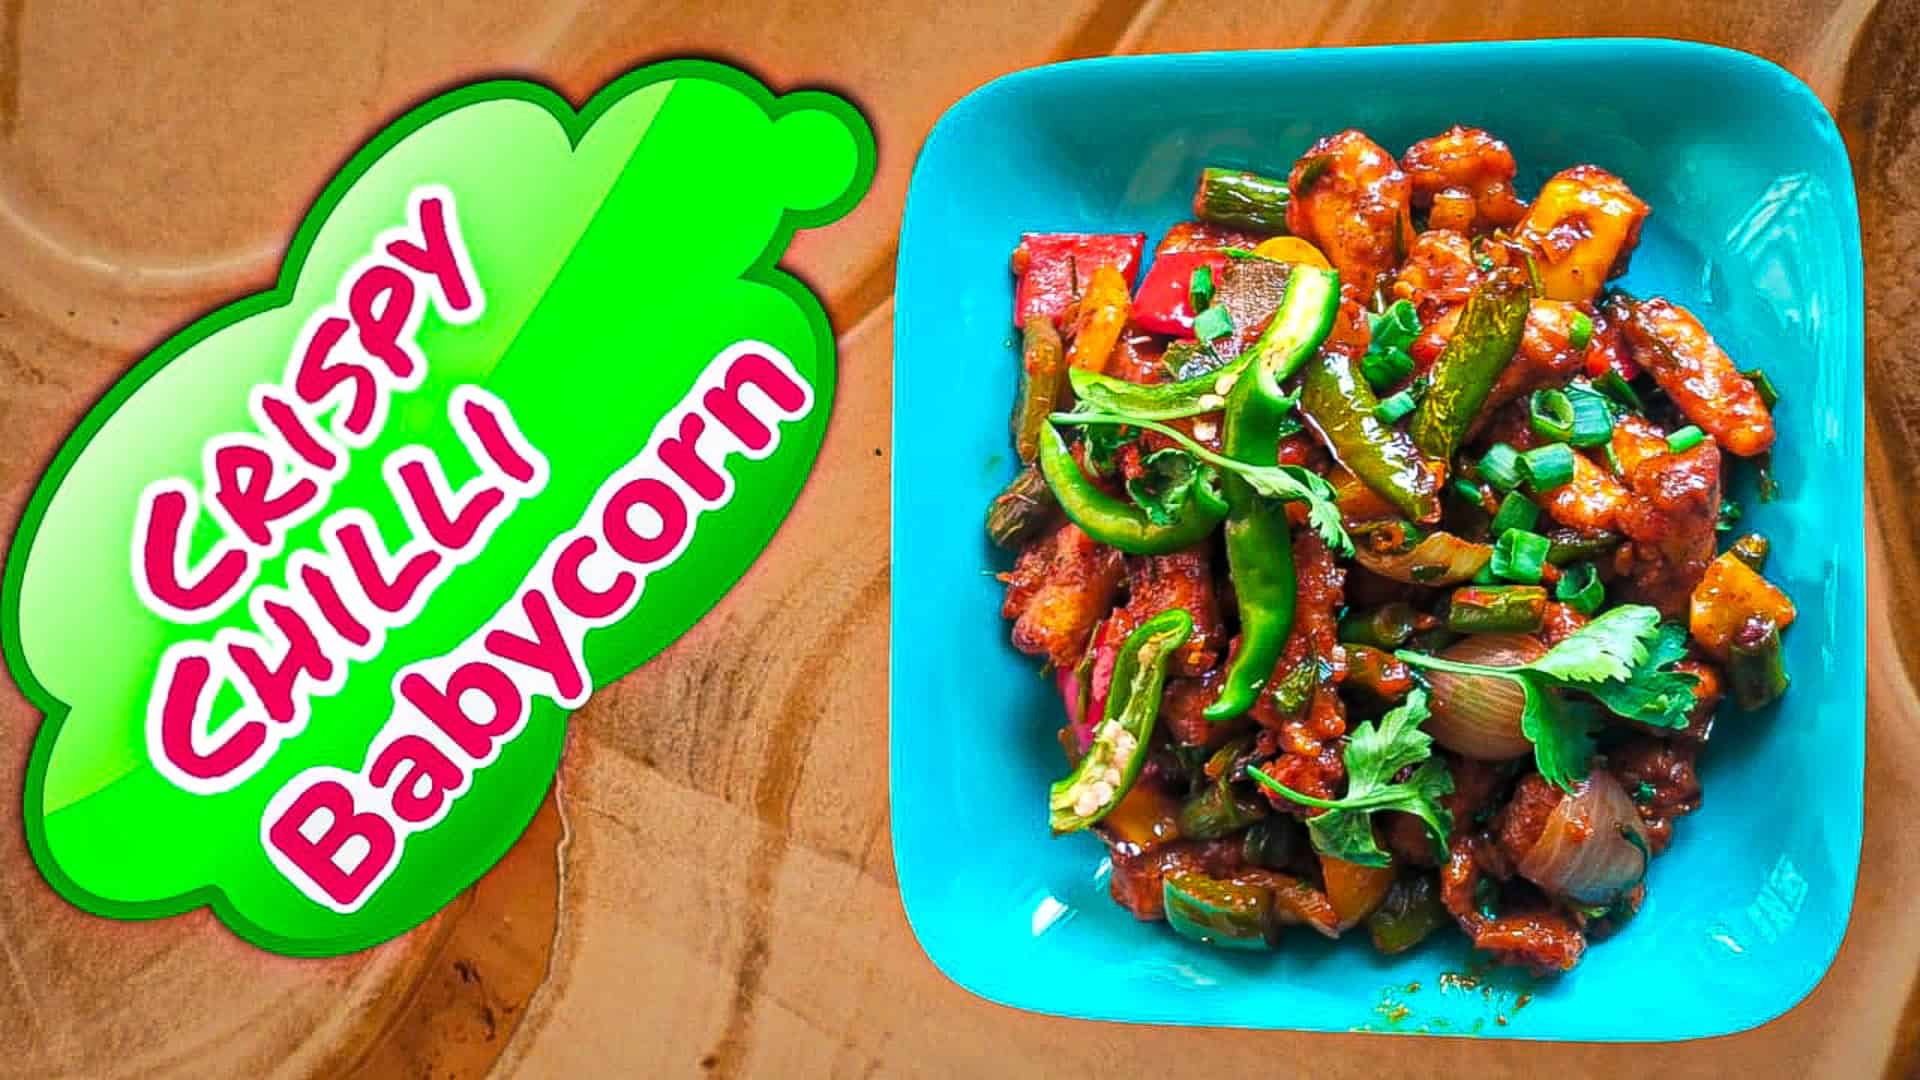
Crispy Chilli Babycorn: A Quick Appetizer

Crispy Chilli Babycorn

Introduction

Crispy Chilli Babycorn: A Quick Appetizer is a crowd-pleasing appetizer that combines crunch, spice, and a burst of flavors in every bite. Perfect for parties, gatherings, or a simple evening snack, this dish is not just delicious but also incredibly easy to make at home.

Why You’ll Love This Recipe

  • Quick & easy to prepare
  • Uses simple pantry ingredients
  • A perfect balance of spicy, tangy, and crunchy
  • Great for vegetarians and kids alike
  • Can be customized to suit your taste

Ingredients Needed

For Frying the Babycorn:

  • 200g babycorn (cut into halves)
  • ½ cup all-purpose flour
  • ¼ cup cornflour
  • ½ tsp baking soda
  • 1 tsp black pepper powder
  • ½ tsp salt
  • ½ tsp red chili powder
  • Water (as needed)
  • Oil (for deep frying)

For the Chilli Sauce:

  • 1 tbsp oil
  • 1 tbsp garlic (minced)
  • 1 tbsp ginger (finely chopped)
  • 1 green chili (chopped)
  • 1 small onion (sliced)
  • ½ green bell pepper (sliced)
  • 2 tbsp soy sauce
  • 1 tbsp red chili sauce
  • 1 tbsp tomato ketchup
  • 1 tsp vinegar
  • 1 tsp sugar
  • Salt to taste
  • Spring onions (for garnish)

Step-by-Step Cooking Instructions

Step 1: Preparing the Babycorn

  • Wash and dry the babycorn thoroughly.
  • Cut them into halves if they are too long.

Step 2: Making the Batter

  • In a bowl, mix all-purpose flour, cornflour, baking soda, salt, black pepper, and red chili powder.
  • Add water gradually to make a smooth batter (not too thick or thin).
  • Coat each babycorn piece evenly with the batter.

Step 3: Frying the Babycorn

  • Heat oil in a pan over medium-high heat.
  • Deep fry the babycorn pieces until golden brown and crispy.
  • Remove and drain excess oil on a paper towel.

Step 4: Preparing the Chilli Sauce

  • Heat 1 tbsp oil in a pan.
  • Add minced garlic, chopped ginger, and green chili. Sauté until fragrant.
  • Toss in onions and bell peppers, stir-fry for 2-3 minutes.
  • Add soy sauce, red chili sauce, tomato ketchup, vinegar, and sugar.
  • Mix well and cook until the sauce thickens slightly.

Step 5: Tossing It All Together

  • Add the fried babycorn to the sauce.
  • Toss well until each piece is coated evenly.
  • Garnish with chopped spring onions and serve hot.

Tips to Get the Perfect Crispiness

  • Always pat dry the babycorn before coating.
  • Use chilled water for the batter to make it extra crispy.
  • Double fry the babycorn for an ultra-crispy texture.
  • Serve immediately to maintain crunchiness.

Variations to Try

  • Honey Chilli Babycorn – Add 1 tbsp honey for a sweet-spicy twist.
  • Garlic Butter Babycorn – Toss in melted butter and garlic instead of chili sauce.
  • Cheesy Babycorn – Sprinkle grated cheese before serving.

Serving Suggestions

  • Serve as an appetizer with mint chutney or schezwan sauce.
  • Pair with fried rice or noodles for a complete meal.
  • Enjoy as a party snack with a refreshing beverage.

Health Benefits of Babycorn

  • Low in calories, making it a guilt-free snack.
  • Rich in fiber, aiding digestion.
  • Contains essential vitamins and minerals like Vitamin C and B-complex.
  • A great source of antioxidants.

Common Mistakes to Avoid

  • Soggy Babycorn – Avoid adding too much water to the batter.
  • Not Draining Oil Properly – Always use a paper towel to soak excess oil.
  • Overcooking in Sauce – Toss quickly to retain crispiness.

Frequently Asked Questions (FAQs)

1. Can I make this dish ahead of time?

It’s best enjoyed fresh, but you can fry the babycorn in advance and toss in sauce before serving.

2. Can I air-fry instead of deep-frying?

Yes! Preheat the air fryer to 200°C (392°F) and cook for 10-12 minutes, shaking halfway.

3. What can I use instead of all-purpose flour?

You can use rice flour or chickpea flour for a gluten-free option.

4. How do I make it less spicy?

Reduce the amount of chili sauce and green chilies to make it milder.

5. Can I store leftovers?

Yes, store in an airtight container and reheat in an oven for best results.

How To Make Grilled Paneer Tikka At Home

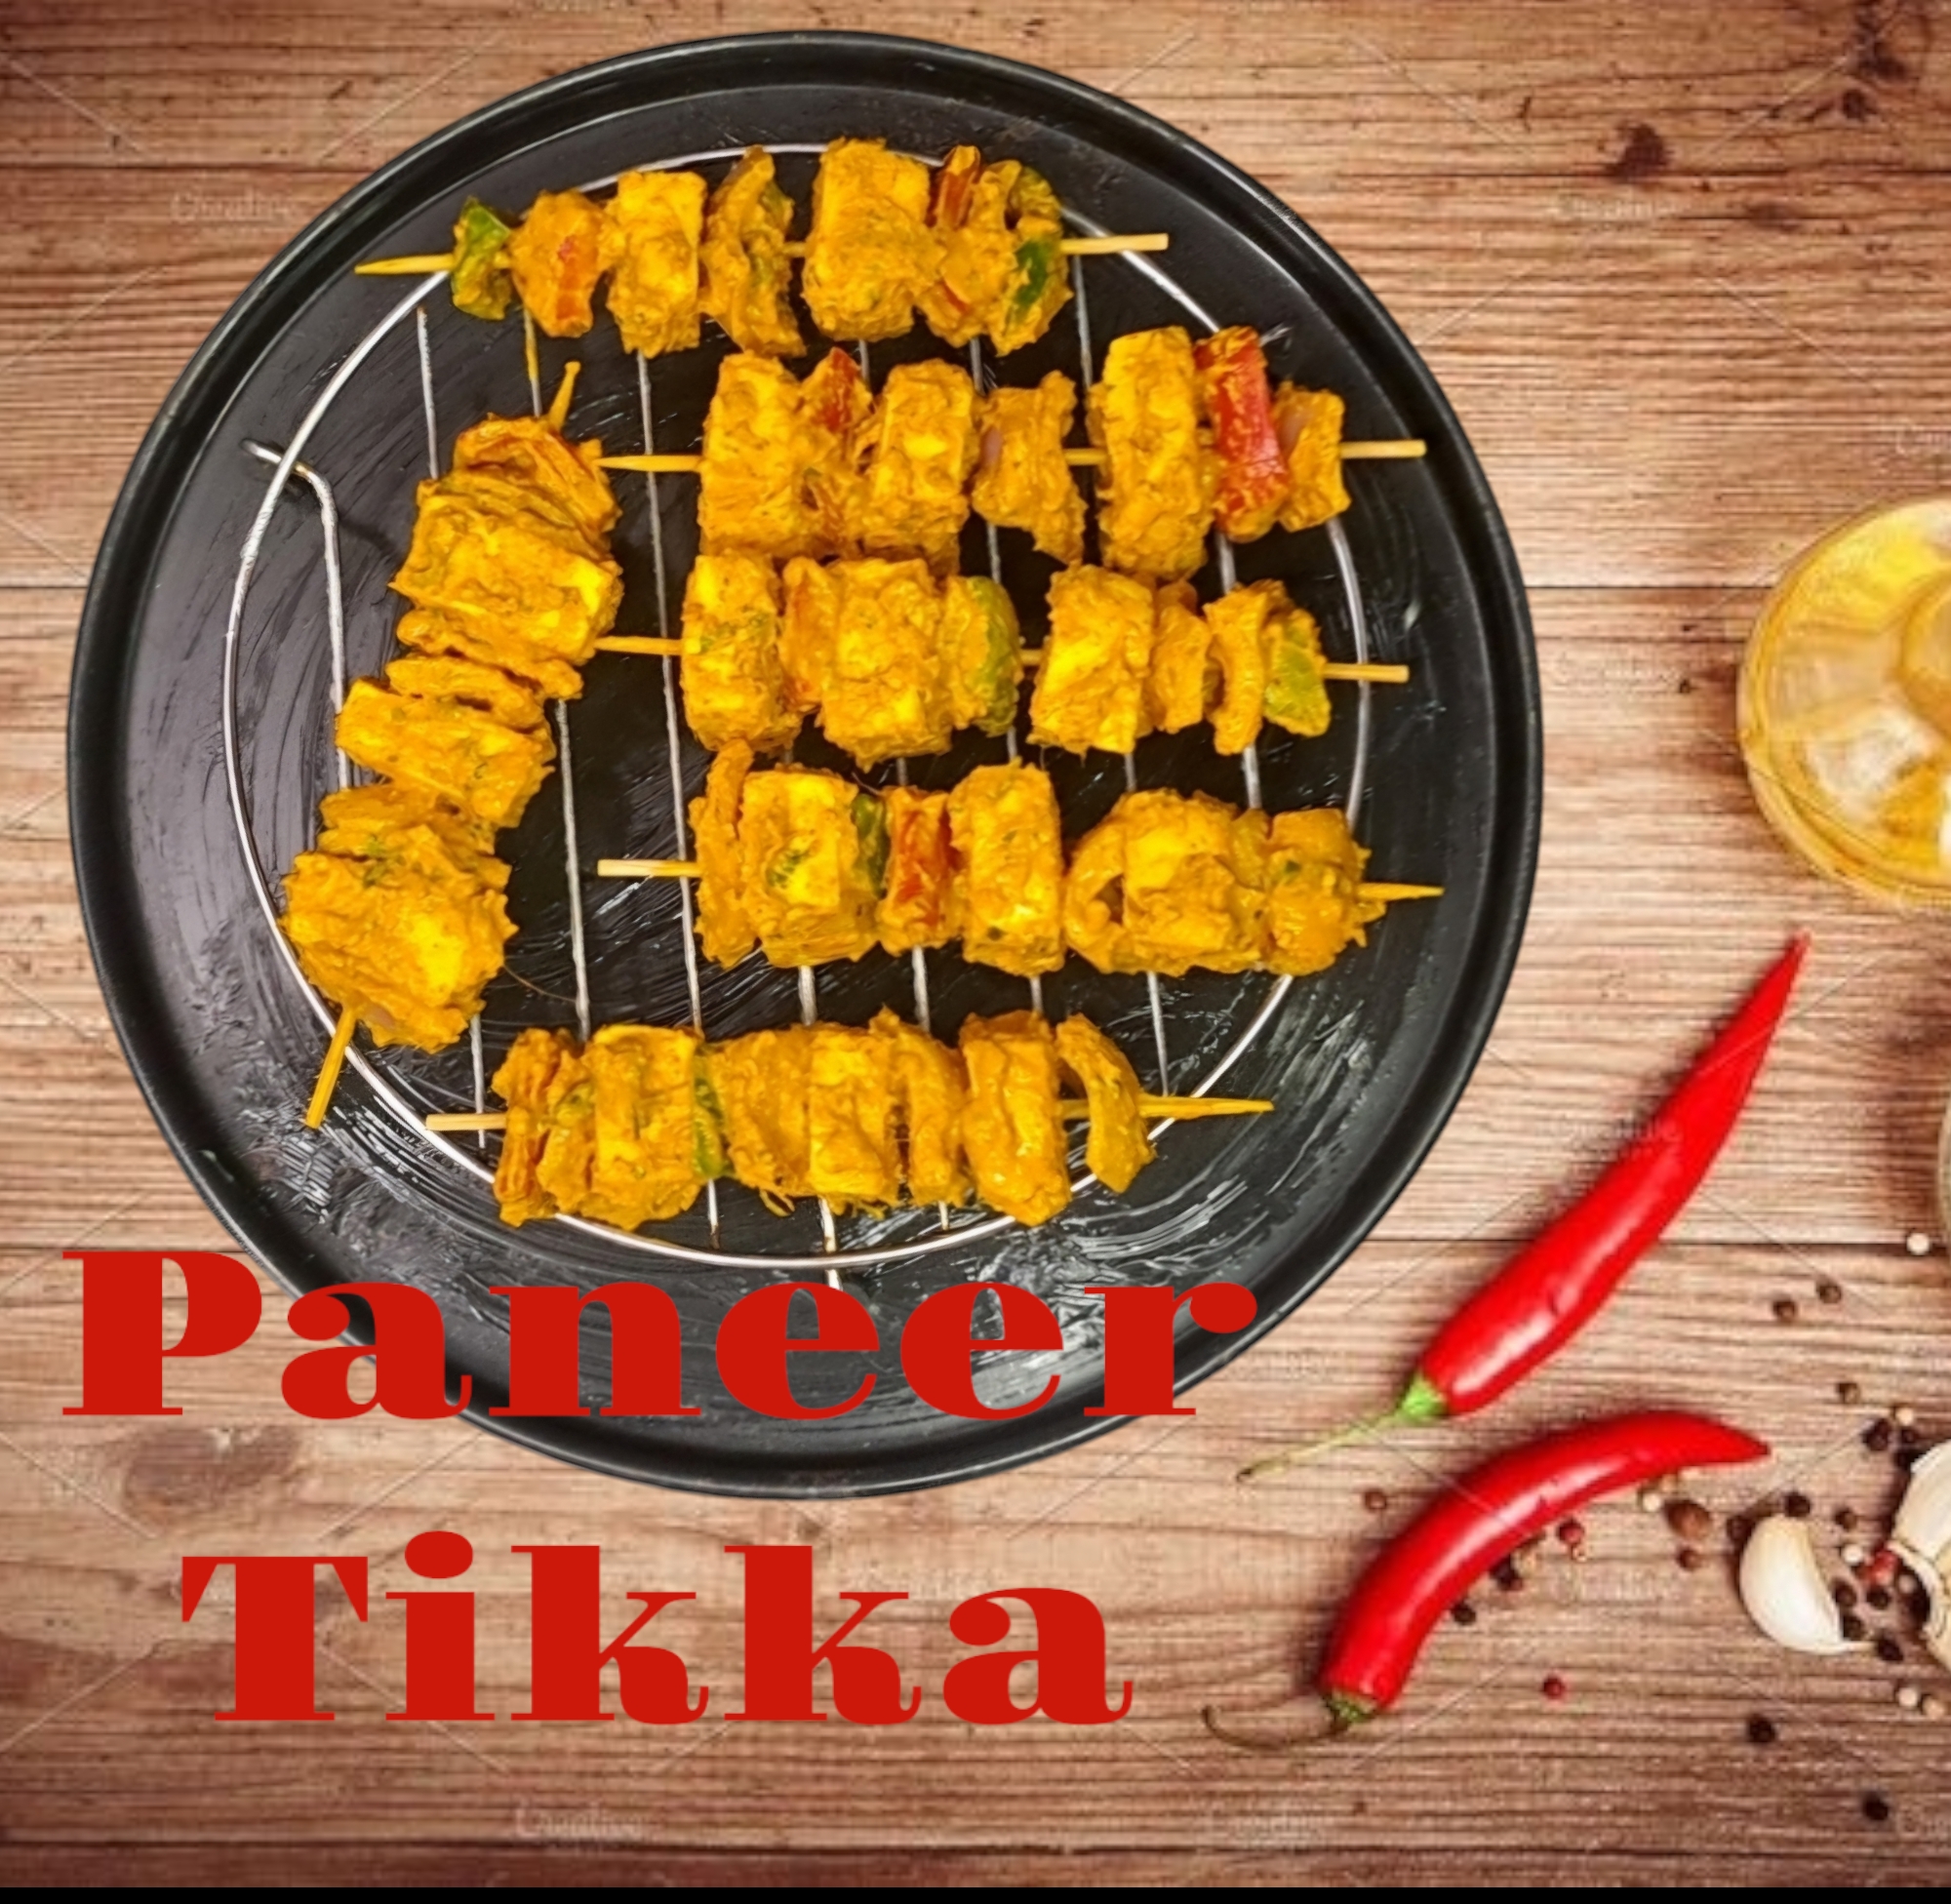
Grilled Paneer Tikka

Introduction

Craving something smoky, spicy, and utterly delicious? Then Grilled Paneer Tikka is exactly what you need! This Indian delicacy is packed with bold flavors, a creamy texture, and that signature charred taste that makes it an all-time favorite.

History of Paneer Tikka

Paneer Tikka has deep roots in Indian cuisine. Traditionally cooked in a tandoor (clay oven), it originated in North India and has evolved into a popular appetizer enjoyed worldwide. Today, it is adapted to suit various cooking methods, including grilling and baking.

Why You Should Try Grilled Paneer Tikka

  • Healthy & Nutritious – Packed with protein and calcium, making it a great choice for vegetarians.
  • Easy to Prepare – Requires simple ingredients and minimal effort.
  • Bursting with Flavor – The perfect blend of spices, yogurt, and smoky goodness.
Paneer Tikka
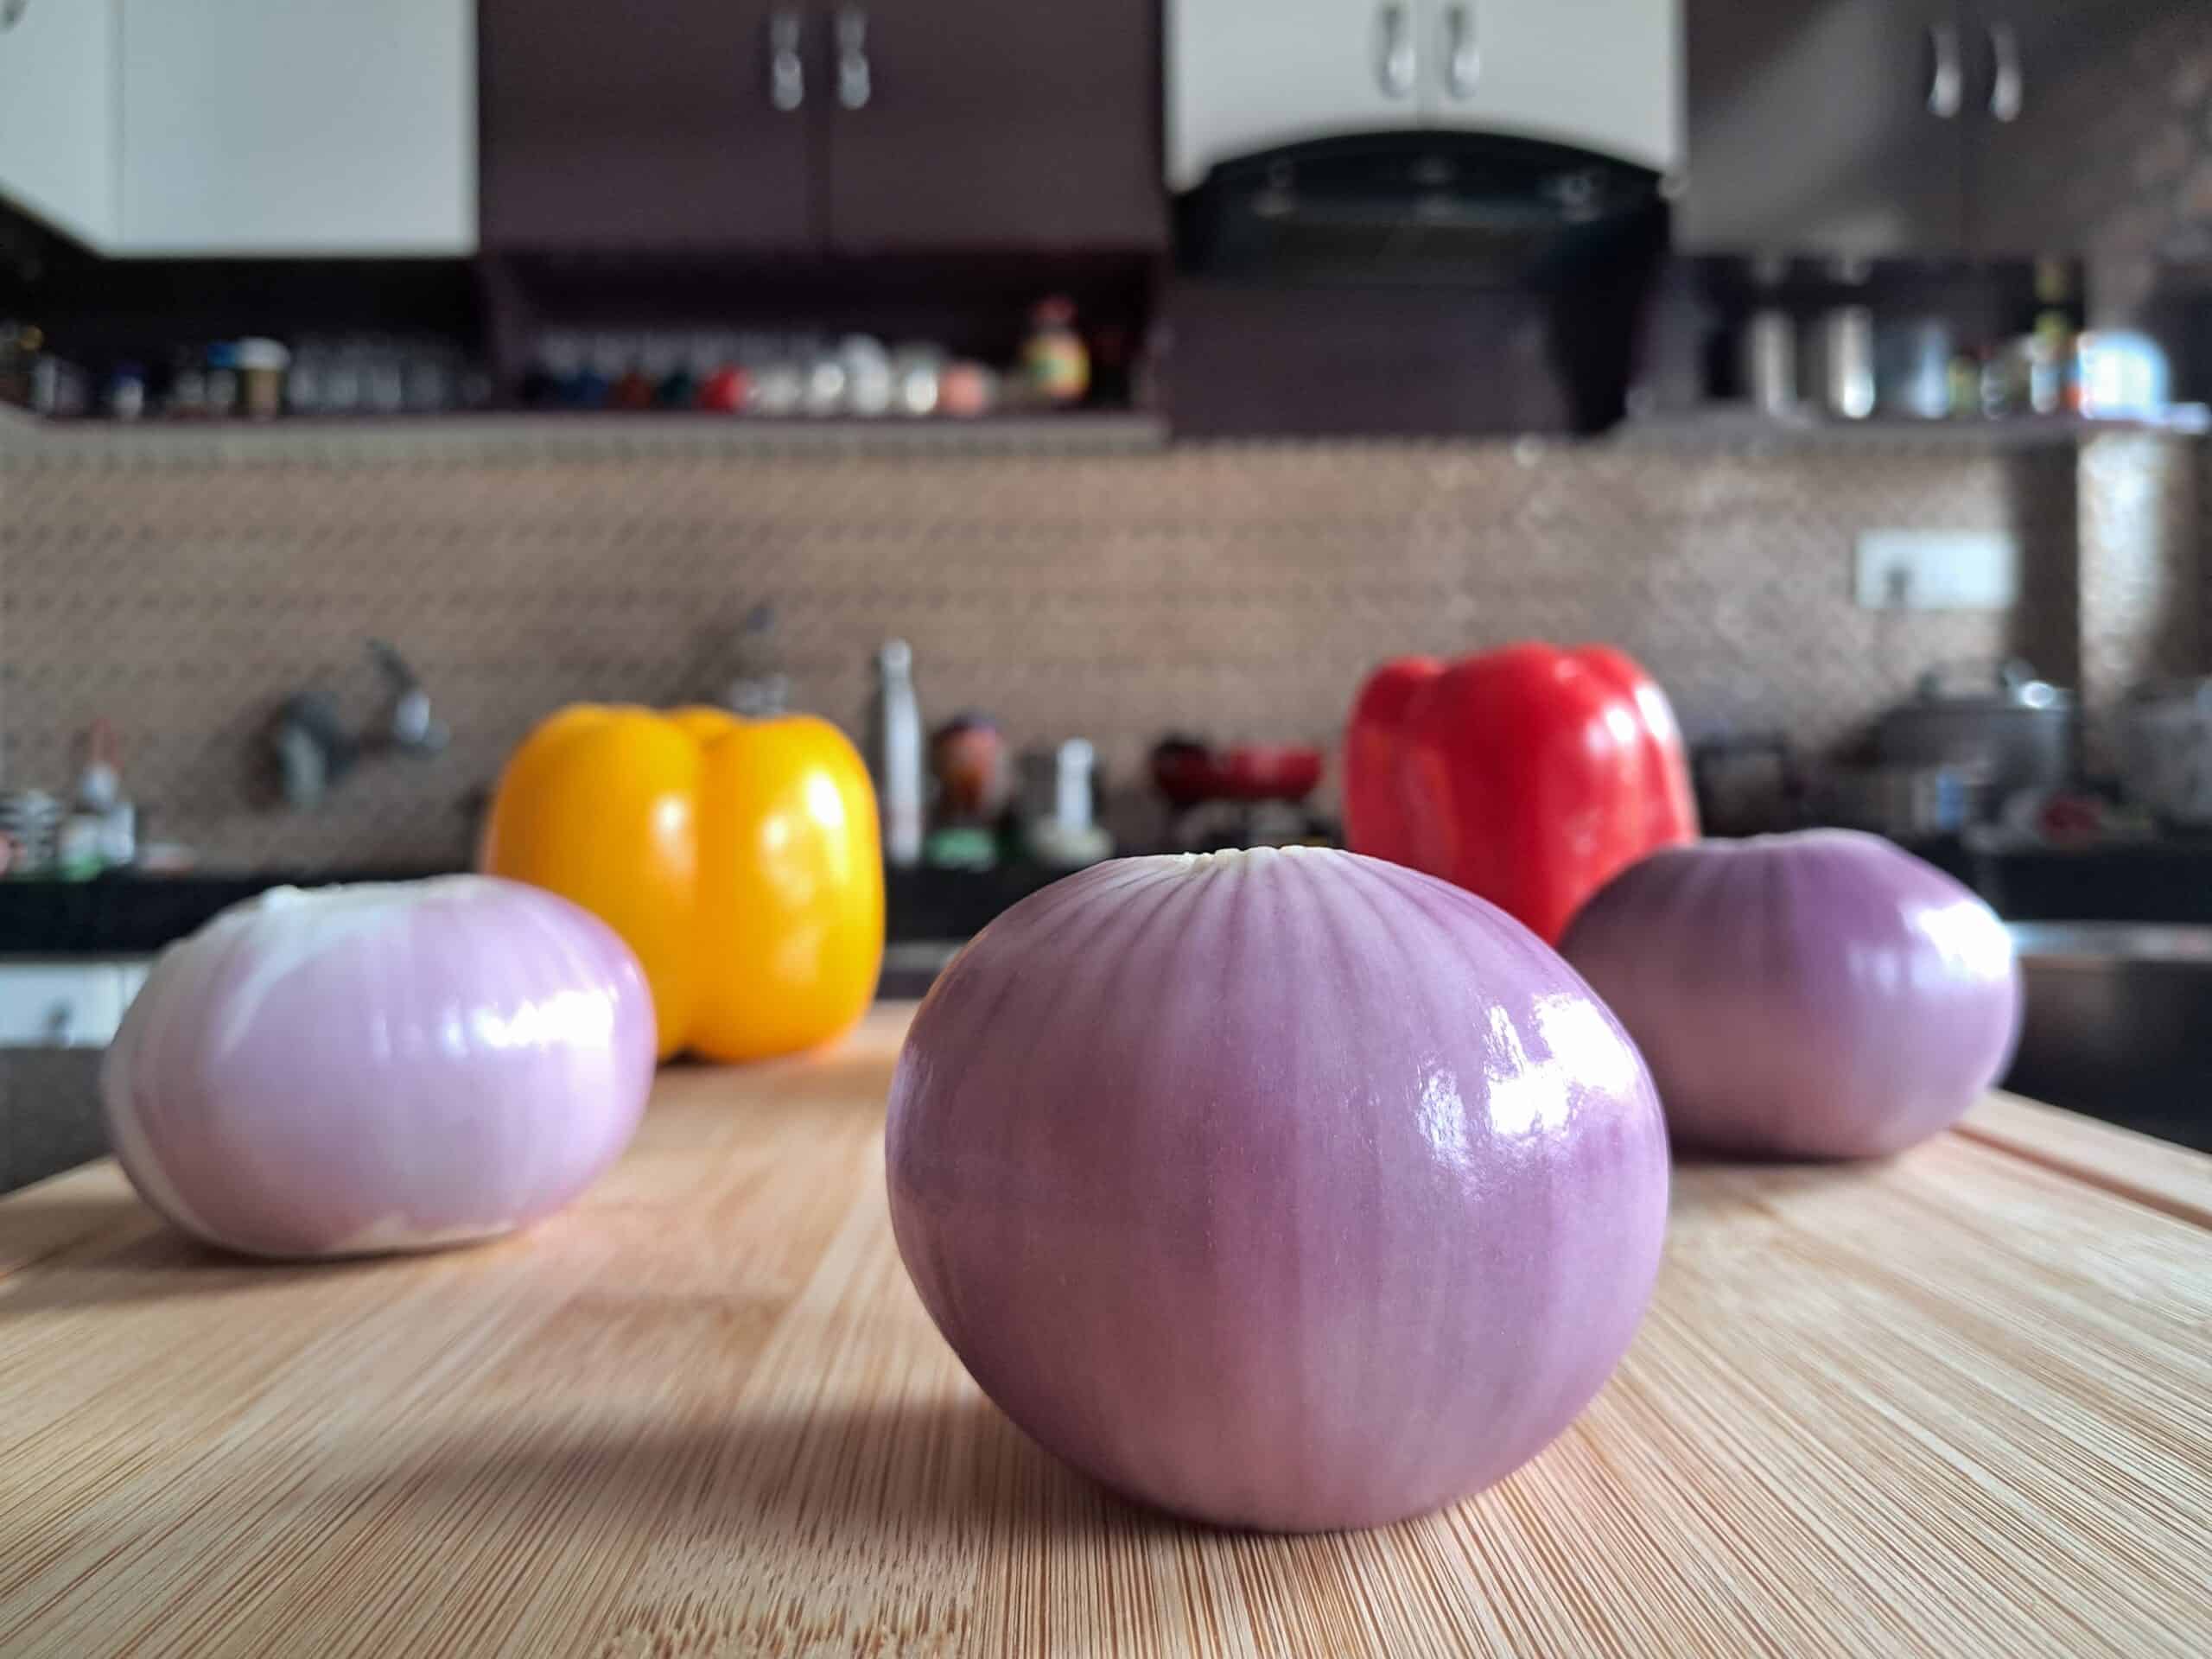
Onion and Capsicum

Ingredients Needed for Grilled Paneer Tikka

Primary Ingredients:

  • 250g paneer (Indian cottage cheese), cut into cubes
  • 1/2 cup thick yogurt
  • 1 tbsp ginger-garlic paste
  • 1 tsp red chili powder
  • 1/2 tsp turmeric powder
  • 1 tsp garam masala
  • 1 tsp cumin powder
  • 1 tbsp lemon juice
  • 1 tbsp mustard oil
  • 1 tbsp gram flour (besan)
  • 1 capsicum (bell pepper), chopped
  • 1 onion, cut into squares
  • 1 tomato, cut into squares
  • Salt to taste

Step-by-Step Recipe for Grilled Paneer Tikka

1. Preparing the Marinade

  • In a bowl, mix yogurt, ginger-garlic paste, lemon juice, mustard oil, and all spices.
  • Add gram flour for better texture.
  • Mix well to form a smooth paste.

2. Marinating the Paneer

  • Coat the paneer cubes, onion, capsicum, and tomatoes with the marinade.
  • Let it rest for at least 30 minutes (overnight for best results).

3. Grilling the Paneer

  • Preheat a grill or pan.
  • Skewer the marinated paneer and vegetables.
  • Grill for 8-10 minutes, turning occasionally.
  • Brush with butter for extra flavour.

Tips for the Best Grilled Paneer Tikka

  • Use fresh paneer for a soft, creamy texture.
  • Do not over-marinate, as it can make paneer too soft.
  • Grill on medium-high heat for a perfect char.

Different Ways to Cook Paneer Tikka

  • BBQ Grill: Best for a smoky, authentic taste.
  • Stovetop Grill Pan: A quick and easy method.
  • Oven: Bake at 200°C (392°F) for 15-20 minutes.

Serving Suggestions

  • Serve hot with mint chutney and onion rings.
  • Pair with naan, roti, or enjoy as a standalone snack.

Nutritional Benefits of Paneer Tikka

  • High in Protein: Great for muscle building.
  • Rich in Calcium: Good for bone health.
  • Low in Carbs: A healthy snack choice.

Best Occasions to Enjoy Grilled Paneer Tikka

  • Family gatherings
  • Weekend BBQ parties
  • Festive celebrations

Conclusion

Grilled Paneer Tikka is a must-try dish for anyone who loves bold flavours with a smoky twist. It’s easy to make, packed with nutrients, and absolutely delicious!

FAQ

Can I use tofu instead of paneer?

Yes! Tofu is a great vegan alternative.

How do I get a smokier flavour?

Use the dhungar method (smoking with a piece of charcoal).

Can I make Paneer Tikka without a grill?

Absolutely! Use an oven or stovetop pan.

How long can I store leftover Paneer Tikka?

Store in an airtight container in the fridge for 2-3 days.

What is the best dip for Paneer Tikka?

Mint-coriander chutney is the perfect companion!