
Table of Contents
Introduction
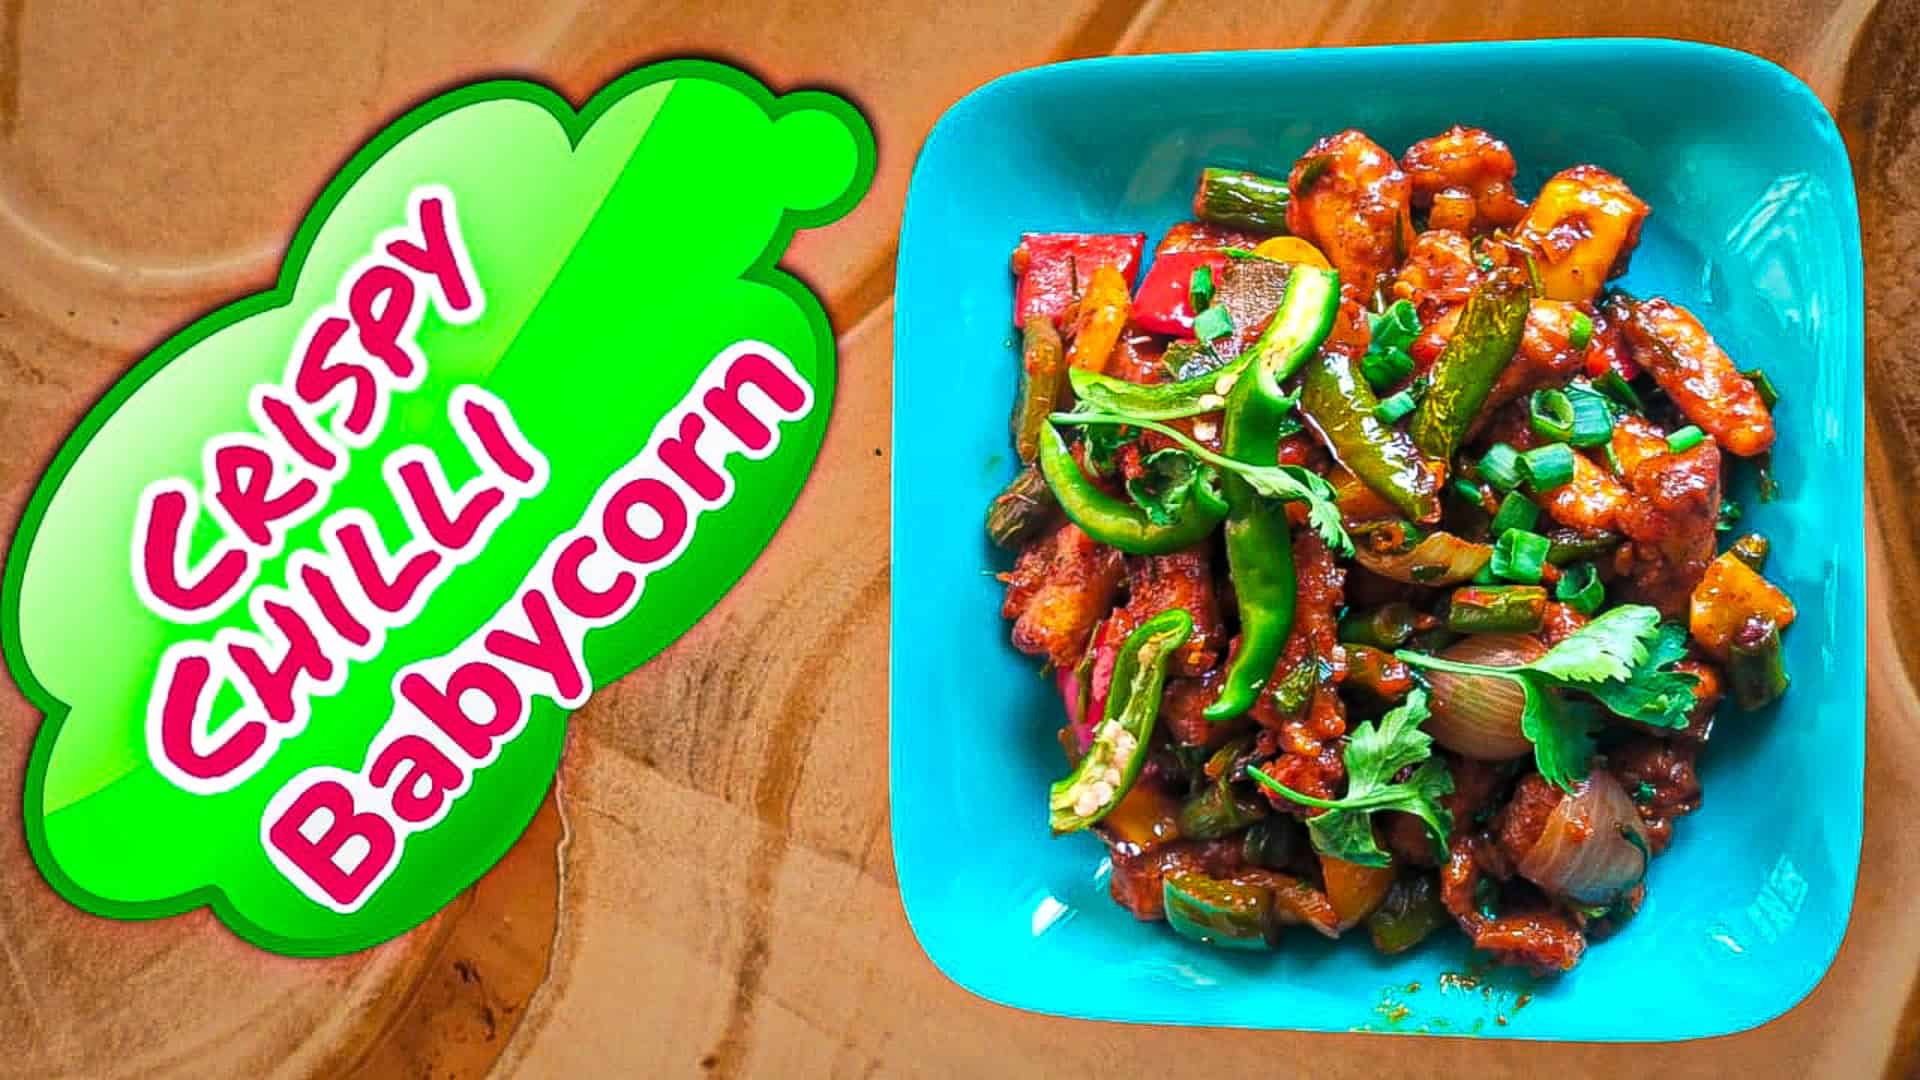
Crispy Chilli Babycorn: A Quick Appetizer is a crowd-pleasing appetizer that combines crunch, spice, and a burst of flavors in every bite. Perfect for parties, gatherings, or a simple evening snack, this dish is not just delicious but also incredibly easy to make at home.
Why You’ll Love This Recipe
- Quick & easy to prepare
- Uses simple pantry ingredients
- A perfect balance of spicy, tangy, and crunchy
- Great for vegetarians and kids alike
- Can be customized to suit your taste
Ingredients Needed
For Frying the Babycorn:
- 200g babycorn (cut into halves)
- ½ cup all-purpose flour
- ¼ cup cornflour
- ½ tsp baking soda
- 1 tsp black pepper powder
- ½ tsp salt
- ½ tsp red chili powder
- Water (as needed)
- Oil (for deep frying)
For the Chilli Sauce:
- 1 tbsp oil
- 1 tbsp garlic (minced)
- 1 tbsp ginger (finely chopped)
- 1 green chili (chopped)
- 1 small onion (sliced)
- ½ green bell pepper (sliced)
- 2 tbsp soy sauce
- 1 tbsp red chili sauce
- 1 tbsp tomato ketchup
- 1 tsp vinegar
- 1 tsp sugar
- Salt to taste
- Spring onions (for garnish)
Step-by-Step Cooking Instructions
Step 1: Preparing the Babycorn
- Wash and dry the babycorn thoroughly.
- Cut them into halves if they are too long.
Step 2: Making the Batter
- In a bowl, mix all-purpose flour, cornflour, baking soda, salt, black pepper, and red chili powder.
- Add water gradually to make a smooth batter (not too thick or thin).
- Coat each babycorn piece evenly with the batter.
Step 3: Frying the Babycorn
- Heat oil in a pan over medium-high heat.
- Deep fry the babycorn pieces until golden brown and crispy.
- Remove and drain excess oil on a paper towel.
Step 4: Preparing the Chilli Sauce
- Heat 1 tbsp oil in a pan.
- Add minced garlic, chopped ginger, and green chili. Sauté until fragrant.
- Toss in onions and bell peppers, stir-fry for 2-3 minutes.
- Add soy sauce, red chili sauce, tomato ketchup, vinegar, and sugar.
- Mix well and cook until the sauce thickens slightly.
Step 5: Tossing It All Together
- Add the fried babycorn to the sauce.
- Toss well until each piece is coated evenly.
- Garnish with chopped spring onions and serve hot.
Tips to Get the Perfect Crispiness
- Always pat dry the babycorn before coating.
- Use chilled water for the batter to make it extra crispy.
- Double fry the babycorn for an ultra-crispy texture.
- Serve immediately to maintain crunchiness.
Variations to Try
- Honey Chilli Babycorn – Add 1 tbsp honey for a sweet-spicy twist.
- Garlic Butter Babycorn – Toss in melted butter and garlic instead of chili sauce.
- Cheesy Babycorn – Sprinkle grated cheese before serving.
Serving Suggestions
- Serve as an appetizer with mint chutney or schezwan sauce.
- Pair with fried rice or noodles for a complete meal.
- Enjoy as a party snack with a refreshing beverage.
Health Benefits of Babycorn
- Low in calories, making it a guilt-free snack.
- Rich in fiber, aiding digestion.
- Contains essential vitamins and minerals like Vitamin C and B-complex.
- A great source of antioxidants.
Common Mistakes to Avoid
- Soggy Babycorn – Avoid adding too much water to the batter.
- Not Draining Oil Properly – Always use a paper towel to soak excess oil.
- Overcooking in Sauce – Toss quickly to retain crispiness.
Frequently Asked Questions (FAQs)
1. Can I make this dish ahead of time?
It’s best enjoyed fresh, but you can fry the babycorn in advance and toss in sauce before serving.
2. Can I air-fry instead of deep-frying?
Yes! Preheat the air fryer to 200°C (392°F) and cook for 10-12 minutes, shaking halfway.
3. What can I use instead of all-purpose flour?
You can use rice flour or chickpea flour for a gluten-free option.
4. How do I make it less spicy?
Reduce the amount of chili sauce and green chilies to make it milder.
5. Can I store leftovers?
Yes, store in an airtight container and reheat in an oven for best results.